
Creating 3D banners in LightWave 3D is so easy. All right let's get started!!!

1 - Launch the Modeler and set your SELECTION MODE to POLYGONS (ctrl+h).
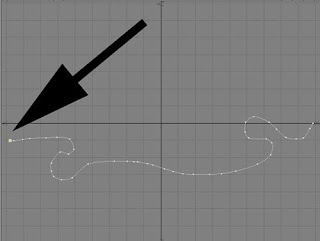
2 - Under the CREATE tab click on the SKETCH tool. (')
3 - From the TopView draw the length and fold of your banner.
Then deselect the Sketch tool.

4 - Click anywhere on the curve to select it and click COPY (c) then PASTE (v)


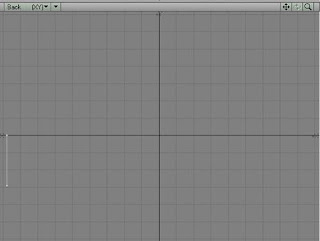
5 - Leaving the curve selected pick up the
MOVE tool (t) located under the MODIFY tab.
Using the BACK VIEW move the curve down on the Y-axis. The gap between the curves
defines the height of the banner.
*Note: You can constrain your movement by holding down the CTRL key before you click and
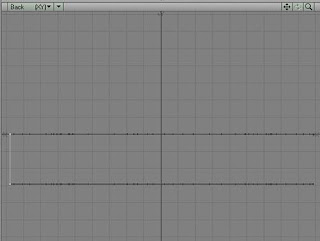
6 - Now change your SELECTION MODE to POINTS (ctrl+g) and drop any tools you
currently have selected. From the TOP VIEW select the first point on the left. If everything is
still lined-up then the first points on both curves should now be selected.
7 - COPY (c) these points and go to the next open layer (top right of screen) and PASTE (v)
8 - Turn this into a 2-point polygon by selecting the points and clicking on MAKE POLYGON (p)
located under the CREATE tab.
9 - Leave this new layer as the active layer and select your previous layer with the curves as
the background layer (click the lower half of the layer to show in background).
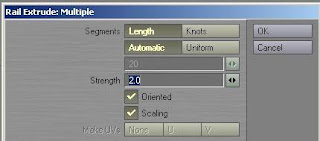
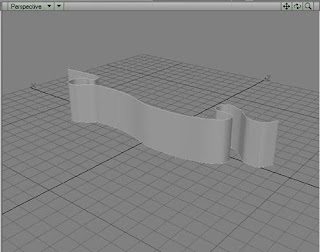
10 - Under the MULITPLY tab you will find the RAIL EXTRUDE tool. Click on it and go with
the defaults. This should create your banner.
Tools such as Rail Extrude are dependent on having a foreground element to work with and a
background element to use as reference. The set-up is simple once you have been through it.
Done


